My Devices
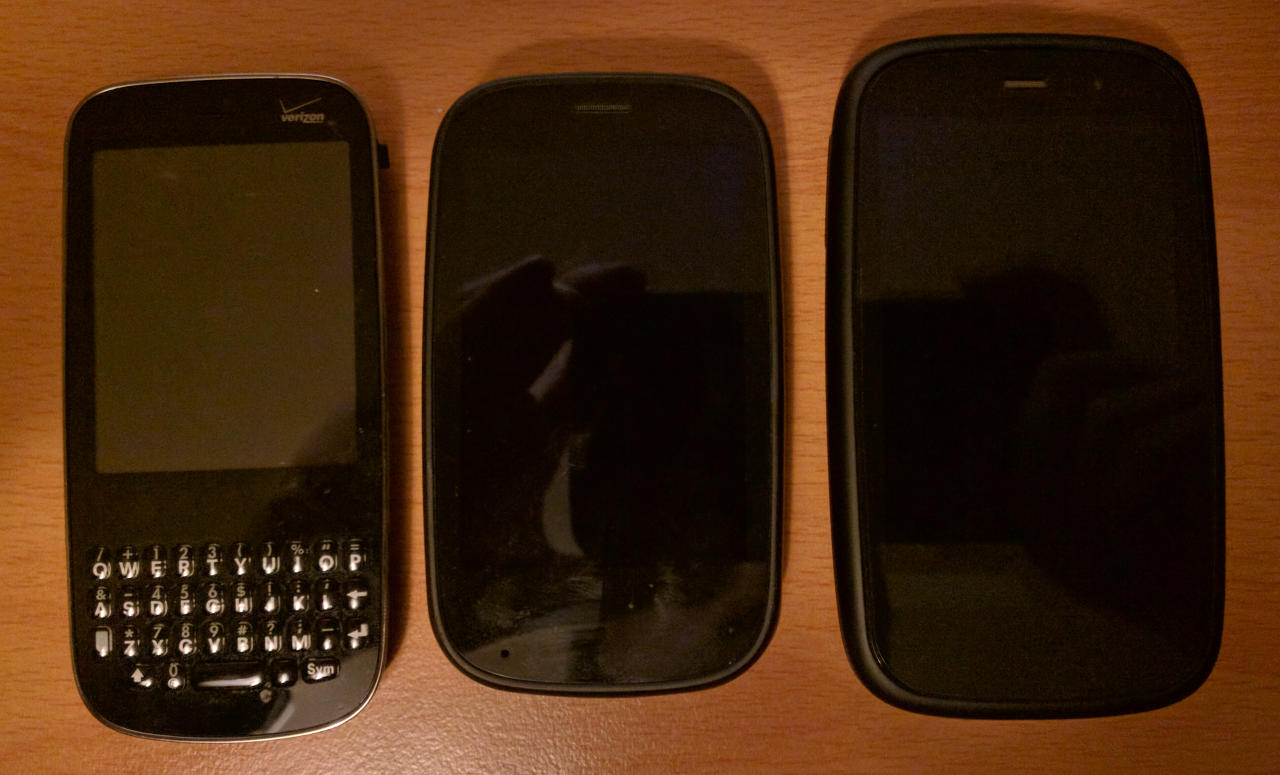

I decided to update the 3/4 of my Palm WebOS devices. The Pre (not pictured) and Pre2 (middle) were my primary, daily-driver phones for over two years, from September 2009 through to spring 2012, when I acquired a Galaxy Nexus and made the jump to Android.
The Pre3 (right) I also picked up on eBay. It came in box, with all accessories, and a spare battery.
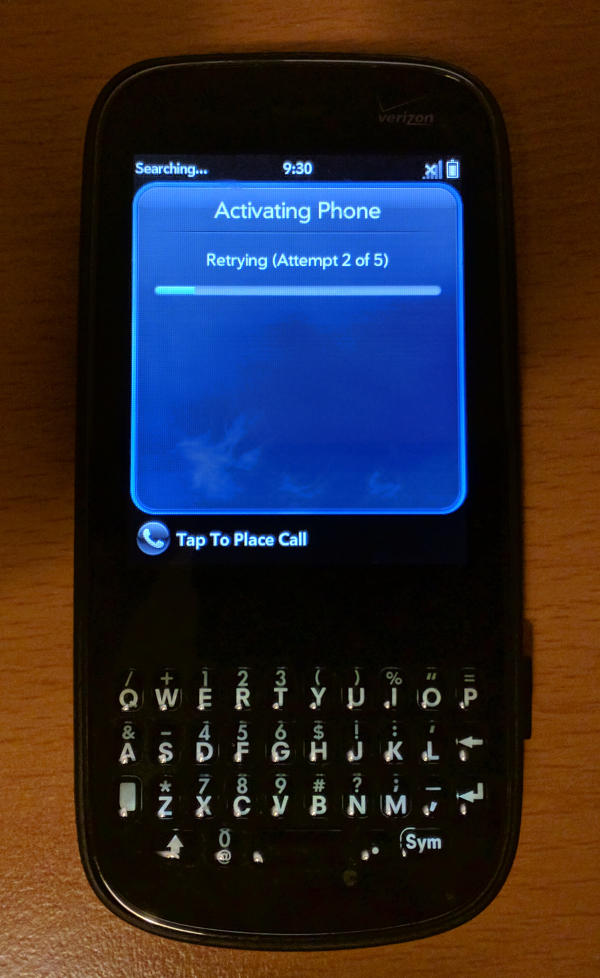
The Pixi (left) I picked up cheap on eBay. “For Parts”, because it “Does not move from activation screen”. Now, the Pixi was a low-end device when it launched. It doesn’t even have WiFi. This isn’t a device you’d buy to use. But as a curiosity, I was interested. Due to the Palm servers being taken offline in January 2015, the activation process will never complete. Interestingly, this “Sprint” Pixi has a “Verizon” faceplate, possibly swapped from a Pixi Plus at some point. Model number confirms it is a Sprint device..
The Pre & Pixi are CDMA phones, locked to Bell Mobility and Sprint respectively. So they’re effectively useless.
The Pre2 & Pre3 are HSPA+ phones, and I should be able to use them on my current provider, assuming I can locate a SIM adapter.
MetaDoctor
Following the MetaDoctor Wiki is fairly straight forward.
Note:
-
“WebOS Doctor” is Palm’s official firmware update program + firmware images
-
“MetaDoctor” is a community-driven makefile that alters the above “WebOS Doctor” images with user-chosen modifications.
Fetching Firmware
After fetching metadoctor from github, you’re required to fetch the WebOS firmware images from Palm. Palm, of course, doesn’t exist currently. Thankfully, you can get all WebOS Doctor images via archive.org.
You’ll have to rename the files after download to append the WebOS version to the filename. In my case:
# Bell Pre
mv webosdoctorp100ewwbellmo.jar webosdoctorp100ewwbellmo-1.4.5.jar

# Sprint Pixi
mv webosdoctorp200ewwsprint.jar webosdoctorp200ewwsprint-1.4.5.jar

# Unlocked Pre2
mv webosdoctorp224pre2wr.jar    webosdoctorp224pre2wr-2.2.4.jar

# AT&T Pre3
mv webosdoctorp224mantaatt.jar  webosdoctorp224mantaatt-2.2.4.jar
Build Modified Firmware
An important resource is the MetaDoctor README file. It outlines all the options available. Myself, I just want to a few options. Instructions say to modify the Makefile, but passing args works just fine. These make commands will output a few assembled firmware images to the build directory.
$ make DEVICE=pre  CARRIER=bellmo BYPASS_ACTIVATION=1 BYPASS_FIRST_USE_APP=1 ENABLE_DEVELOPER_MODE=1 DISABLE_UPLOAD_DAEMON=1 DISABLE_UPDATE_DAEMON=1 all
$ make DEVICE=pixi CARRIER=sprint BYPASS_ACTIVATION=1 BYPASS_FIRST_USE_APP=1 ENABLE_DEVELOPER_MODE=1 DISABLE_UPLOAD_DAEMON=1 DISABLE_UPDATE_DAEMON=1 all
$ make DEVICE=pre2 CARRIER=wr BYPASS_ACTIVATION=1 BYPASS_FIRST_USE_APP=1 ENABLE_DEVELOPER_MODE=1 DISABLE_UPLOAD_DAEMON=1 DISABLE_UPDATE_DAEMON=1 ADD_EXTRA_CARRIERS=1 all
$ make DEVICE=pre3 CARRIER=att BYPASS_ACTIVATION=1 BYPASS_FIRST_USE_APP=1 ENABLE_DEVELOPER_MODE=1 DISABLE_UPLOAD_DAEMON=1 DISABLE_UPDATE_DAEMON=1 ADD_EXTRA_CARRIERS=1 all
Note that I’m using CARRIER=att for the Pre3, due to this being an AT&T phone. However, ADD_EXTRA_CARRIERS=1 should provide whatever additional data (APN?) for it to work on my network. The Pre2 uses CARRIER=wr. There is no “rogers” carrier, but it is on the wiki. However, it links to the webosdoctorp224pre2wr.jar file.
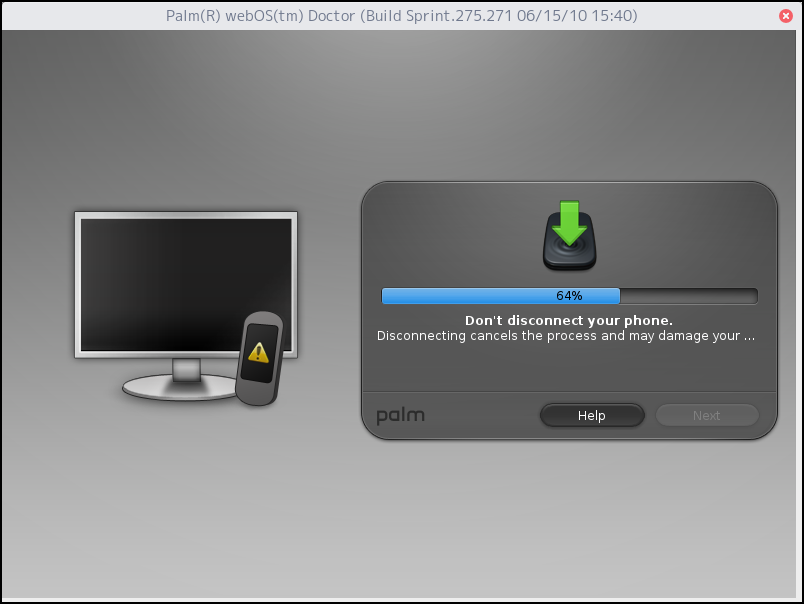
Install Firmware
Interestingly, WebOS Doctor images are more than just a firmware image, like you’d have with Android (or other devices). They’re actually executable java bundles, which will push the encased firmware to the device. So you execute it on your computer. On the bright-side, they’re Java, so they should work on any platform. On the super-bright-side, they actually work just fine with the OpenJDK installed in Fedora. No need to tarnish your system with Sun/Oracle Java.
$ java -jar build/pixi-p200eww-sprint-1.4.5/webosdoctorp200ewwsprint-1.4.5.jar
Now, the down-side (of course there was one). There seems to be some trouble actually finding the USB device. It seems that it uses platform-specific builds of novacom. Novacom is sort of like both fastboot and adb utilities in the Android world. Apparently there are libusb woes here. There are instructions on chasing down old libraries to resolve this issue…
Luckily, none of that matters on Fedora 24, since novacom is actually packaged.
$ sudo dnf install novacom
Last metadata expiration check: 0:52:44 ago on Wed Sep 14 22:24:59 2016.
Dependencies resolved.
=================================================================================
 Package          Arch     Version                              Repository   Size
=================================================================================
Installing:
 novacom          x86_64   1.1.0-0.11.rc1.git.ff7641193a.fc24   fedora       10 k
 novacom-client   x86_64   1.1.0-0.11.rc1.git.ff7641193a.fc24   fedora       24 k
 novacom-server   x86_64   1.1.0-0.14.rc1.fc24                  fedora       52 k

Transaction Summary
=================================================================================
Install  3 Packages

Total download size: 86 k
Installed size: 131 k
You’ll need to run it as root to allow direct access to USB devices (You can probably configure some udev permission rules, but I won’t be doing this often enough to bother). You can instruct it to fork, but I preferred opening a second terminal, so I could <CTRL+C> the process when I’m done.
$ sudo novacomd
Update: A systemd unit is actually installed. sudo systemctl start novacomd would be the correct method to start the service
You should see a few lines of output indicating a device was found.
Back in our metadoctor terminal, run the WebOS Doctor firmware we assembled earlier:
$ java -jar build/pixi-p200eww-sprint-1.4.5/webosdoctorp200ewwsprint-1.4.5.jar
A few clicks of “Next” should get your firmware flowing. Note that one of the ’next’ buttons will be disabled if your device isn’t found.
Devices stuck in Activation
As mentioned above, the Pixi was stuck in perpetual activation. You’ll need to force it into a mode that will accept firmware. This is sort of like bootloader mode on Android. This process should be identical for all Palm WebOS hardware.
- Turn the device off
- Hold
- Either press , or Plug in USB (both turn on the phone)
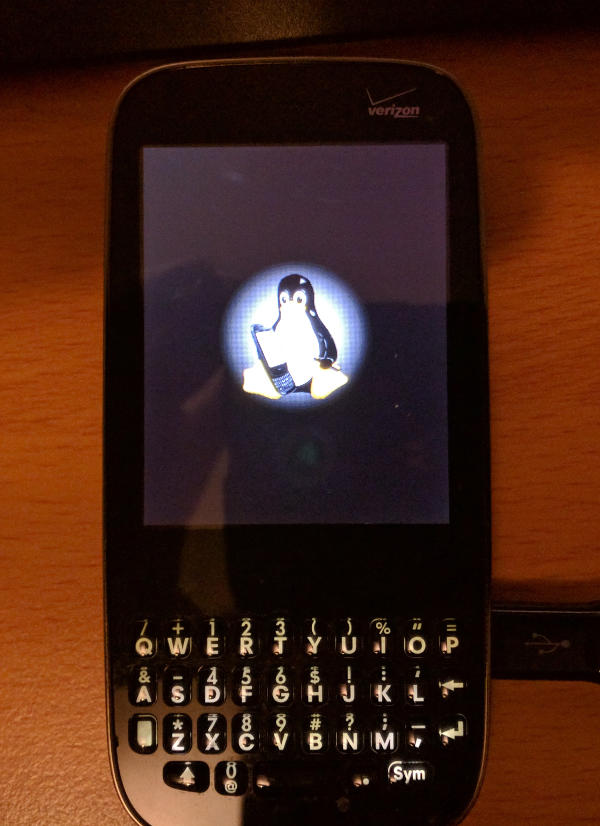
The updater should see the device and enable you to load the firmware.
After a successful update, the initial boot screen will be a picture of Tux with a Palm Pre.
End of Pixi fun
After booting up the Pixi, I noticed it immediately started in “International Roaming” mode, notified of pending voice mail, and has a phone number assigned to it.
I’ve immediately placed it into airplane mode, then yanked the battery. Since this device lacks Wifi, there is very little reason to look at it again.
WebOS 2 on Pre
There is a process to install WebOS 2 onto WebOS 1 devices, like the Pre and Pixi. I actually used WebOS 2 on my Pre when it was my primary device back in 2011. It added some notable features, such as voice dialing (handy with bluetooth). It was perfectly functional, though a tad sluggish at times (it was targeting better hardware).
That said, backporting WebOS 2 to these devices is an interesting exercise. There is a WebOS 2 upgrade procedure, which involves running the appropriate script from within the metadoctor directory:
$ scripts/meta-bellmo-pre-2.1.0
The script will list the multiple WebOS Doctor images required at the top. You’ll need to preemptively fetch these, as the URLs are bad (pointing to offline Palm servers, again). Note that they use a slightly different naming scheme (they do not get the version appended to the end).
The firmware install procedure is the same as above.